How to draw a face
Before you draw a face, you will need:
- a pencil
- a piece of paper
- a marker
- First draw a light vertical line in the middle, then draw a light horizontal line across the other line
- Draw an oval around the lines. This will be the outline of the face
- Just above the center of the face, you move your pencil to the left and draw a circle or a sideway oval for the eye. Then draw a dot for the iris. On right side of your face, draw the eye at the same verticle position as the left eye
- At the center of the face, draw a nose. You can draw a hook or a curve in between the eyes
- You are almost done with the face! Now let's draw the mouth. Add a half sideway circle below the nose. Add teeth or tongue (optional). This is what your drawing will look like, step by step:

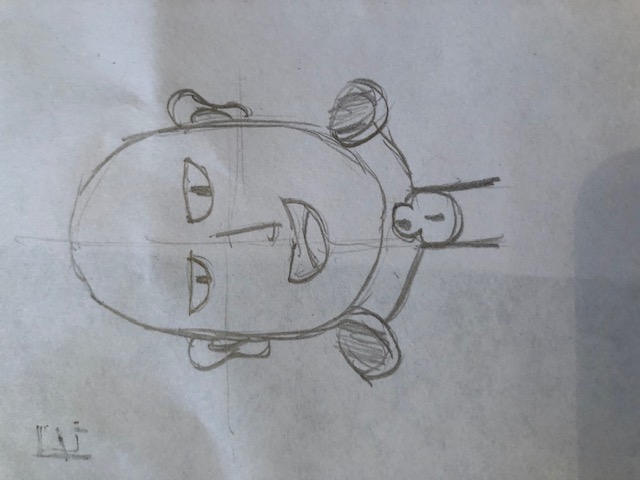
This is what your drawing will look like right now before we reach the final step:

One important thing to do after you finish the outline of your face is to check whether you accidentally make a mistake or not. Check thoroughly before reaching the final step.
- Once you finished checking the details, darken up the important parts of your face
- You can add hair, accessories, or the top part of the face's torso as you wish
- Erase all of the unnecessary detail lines, and you are done!
- If you want to be extra artistic, you can color your face. The color choices are optional for you.
How your finished drawing will look like (this is a reference):
There you go, you just drew a face! This is the entrance of art and you will get used to it